In this article, we are going to discuss how to reverse a video in Windows 11. All the methods mentioned here work on all versions of Windows including Windows 10/8.1/7.
Nowadays, reversed videos are very common. Although it looks really interesting, it makes people wonder how to create one.
Reversed video is a result of post-production editing. Reversing a video without proper tools is very difficult. It’s because you have to rearrange all the frames/photos of the video backward. That being said, you can’t shoot a video in the reverse direction. You have to reverse it after you take the video.
Reverse videos can display eye-catching special effects that in reality can’t be true. For instance, it can show rivers flowing backward, cars racing backward, etc.
Sadly, the Photos app, the Windows inbuilt video editor, doesn’t have the capability to reverse videos. But, there are a couple of apps in the Microsoft Store that can reverse videos. We will also talk about some online video editing tools in this guide that can reverse videos.
If you are also interested to create a reversed video to share on social media, you can read our guide to know more.
How to Reverse a Video in Windows 11
Reversing a video in Windows 11 is not as difficult as it seems. You just need to install the right application for reversing the video. In this section, we will discuss the different methods, both online and offline, to reverse a video on Windows.
How to Reverse a Video on Windows with EaseUS Video Editor
EaseUS Video Editor is an exceptional video editor app. You can subscribe to its pro version for removing watermarks and other useful features absent in the free version.
However, in this article, we will discuss how to reverse a video on Windows 11 with the EaseUS Video Editor free version:
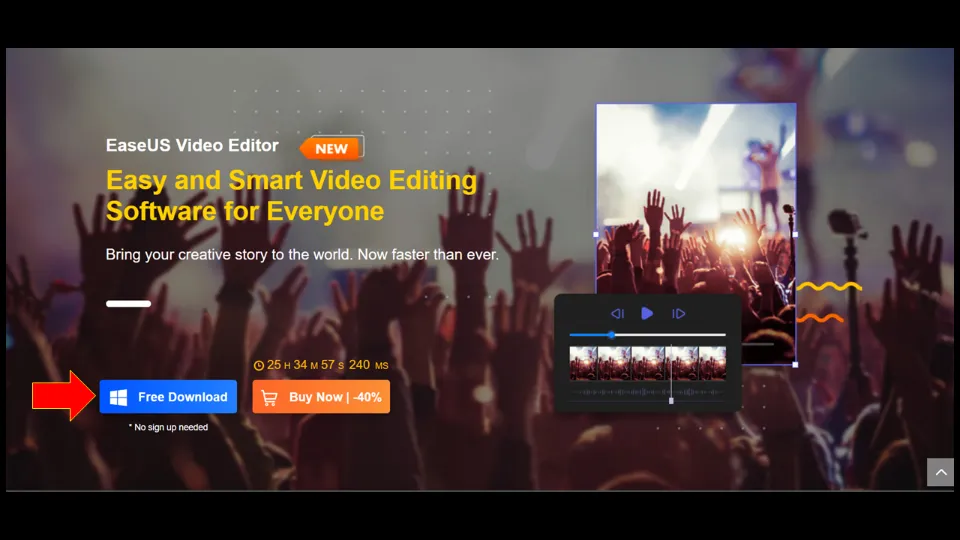
Visit the official website of EaseUS Video Editor and click Free Download. This will install the latest version of the app.
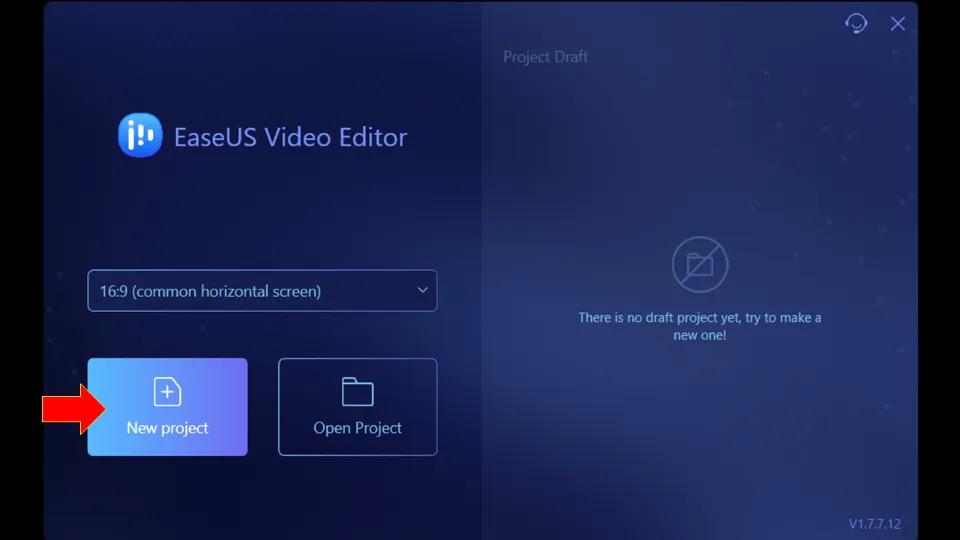
1. Start EaseUS Video Editor.
2. Select + New Project.
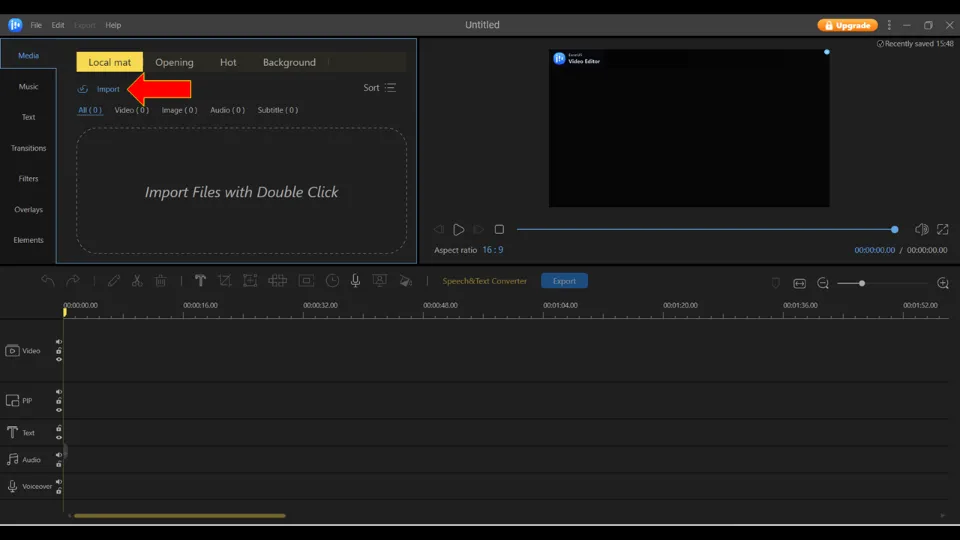
3. Hit Import. And choose the video you want to reverse.
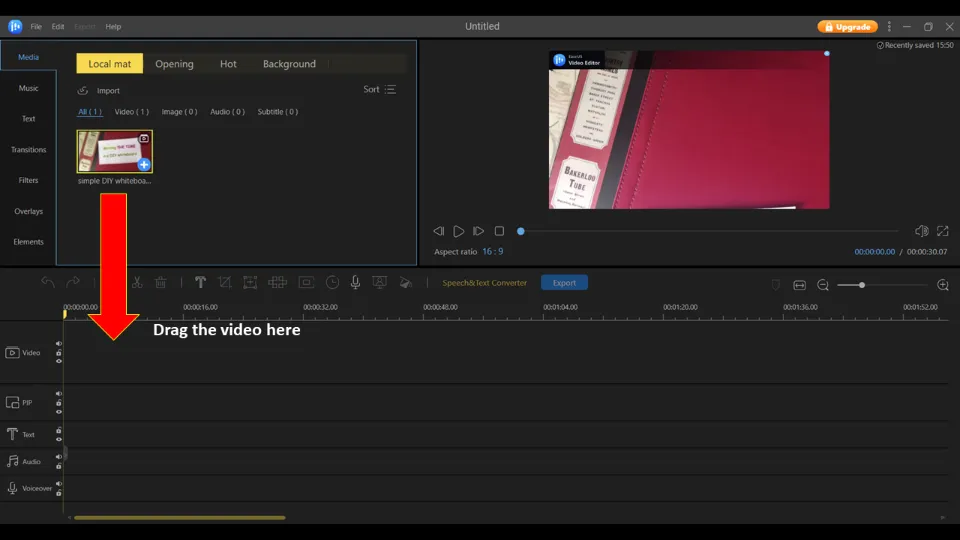
You can drag & drop the video you want to edit in the Import video section.
4. Drag the video to the bottom part of the editor (Video section).
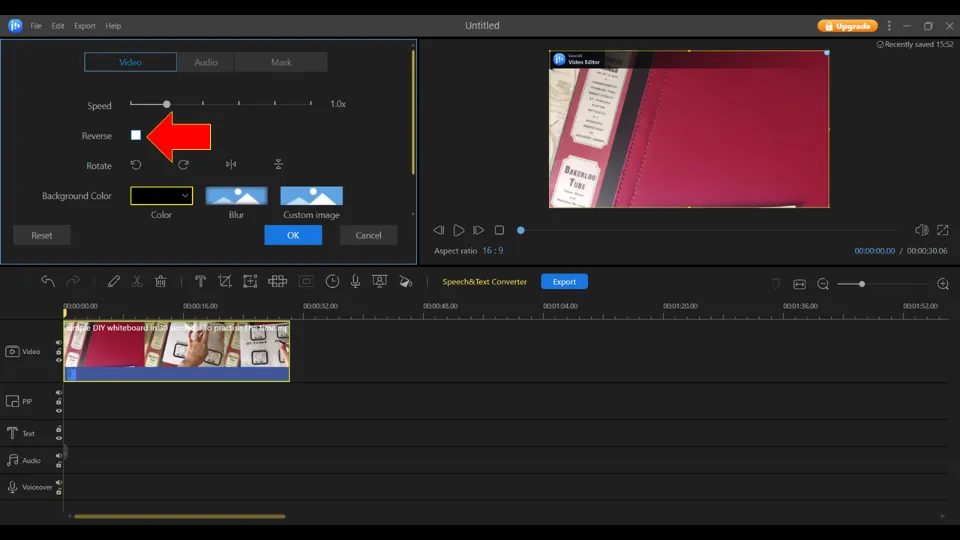
5. Then, select the Edit icon.
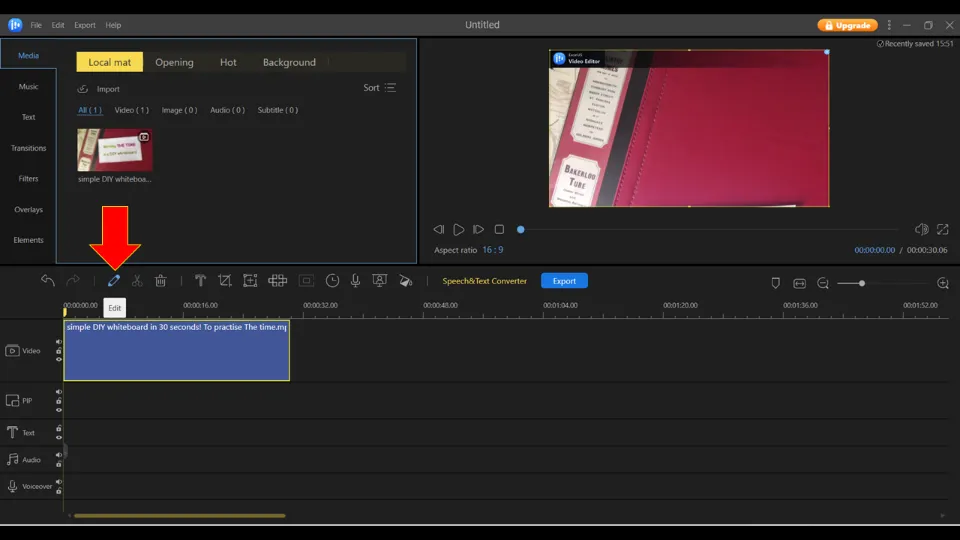
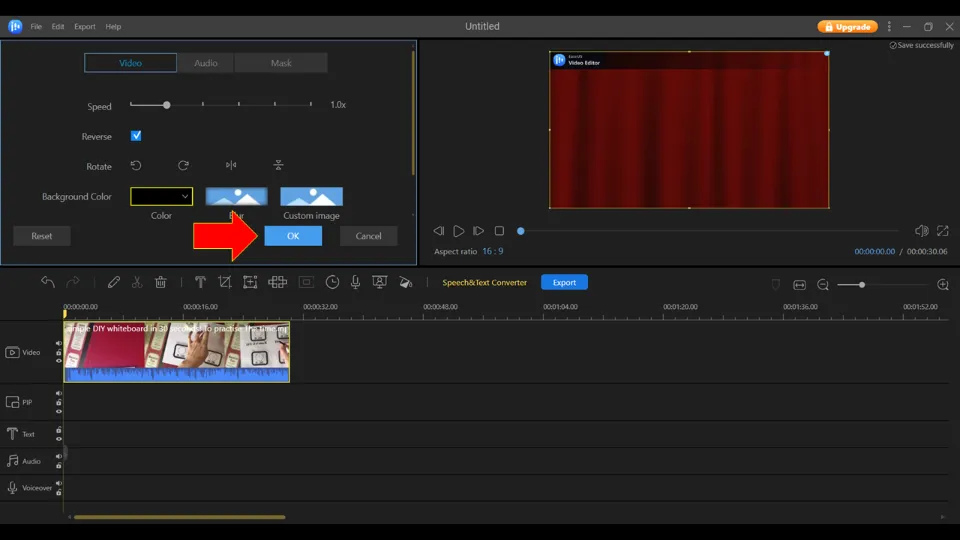
6. Click Reverse. And wait for the video to get reversed.
7. Click OK when the video is reversed completely.
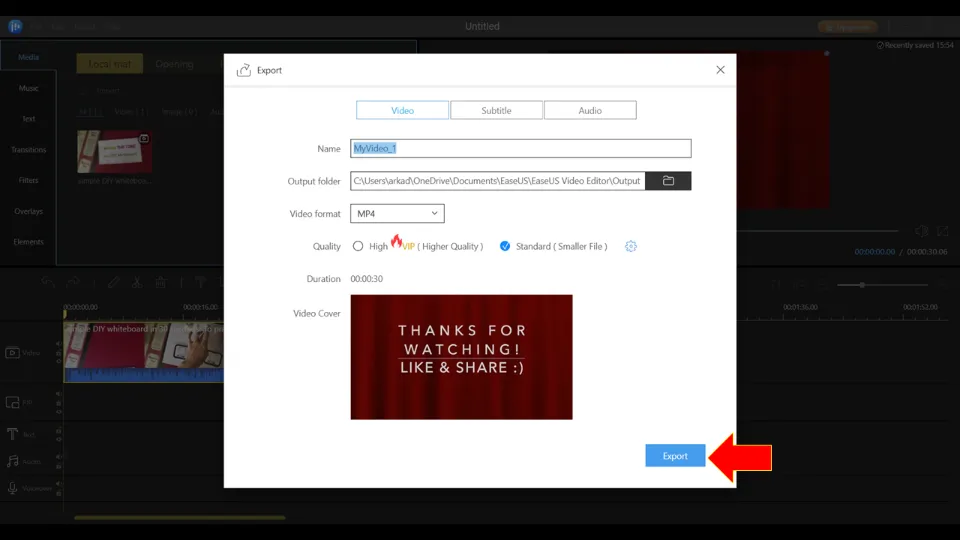
8. Next, select Export.

9. Name the video. Select video format, resolution, and quality. Then, hit Export.
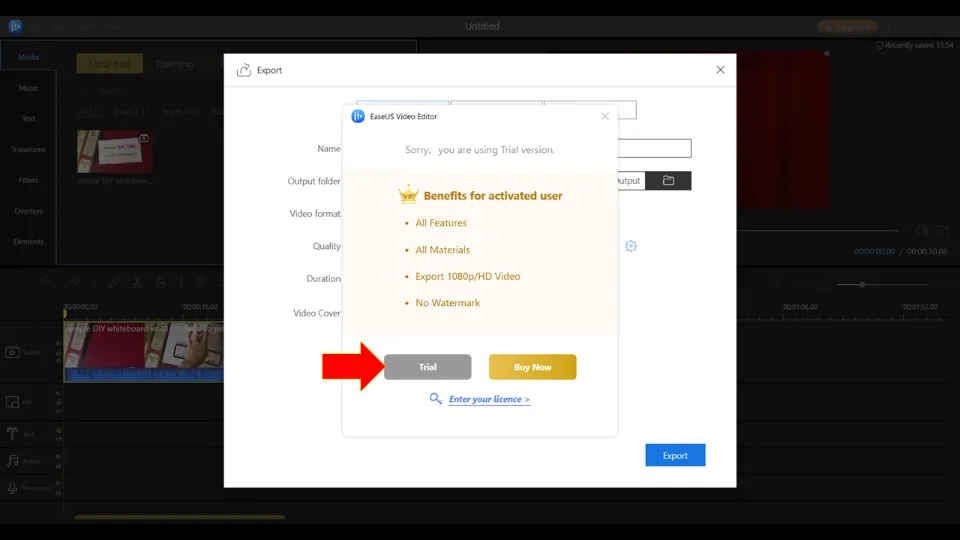
10. A Window will pop up next. Choose the Trial option as we are using the free app version.
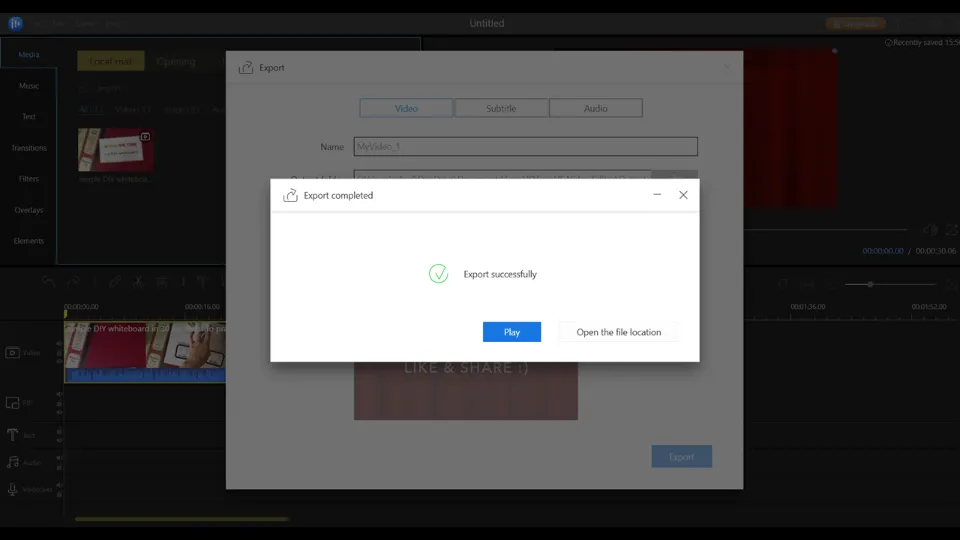
11. The process will take a few minutes to complete. You can either choose to play the edited video instantly or open the file location.
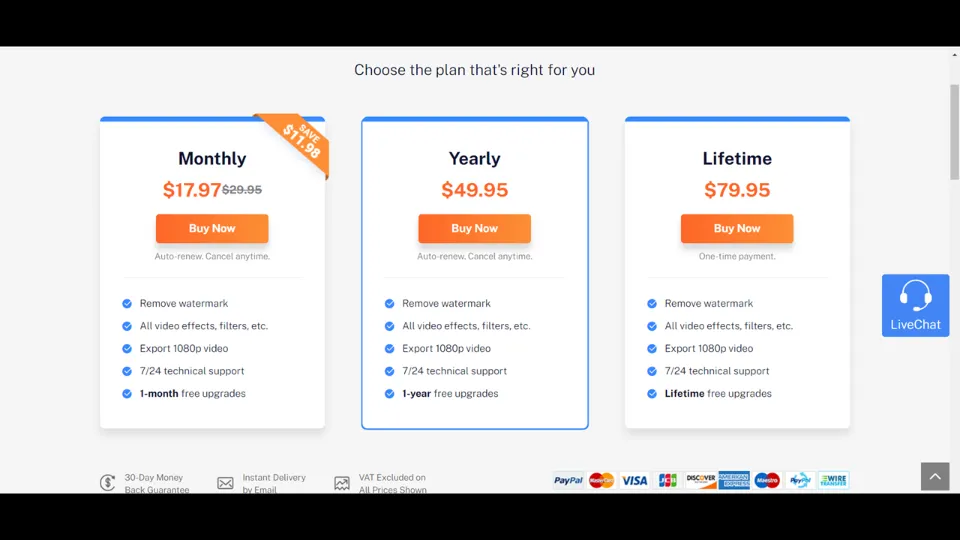
Subscription Model:
EaseUS Video Editor also has a premium version. It offers monthly, yearly, and lifetime subscription options.
The price ranges from $17.97 to $79.95
Premium Version Benefits:
✅No Watermark
✅Export 1080p video
✅Use all video effects, filters, etc. without restriction.
How to Reverse Video Files on Windows with Wondershare Filmora
Wondershare Filmora is a fantastic video editor application. This app can reverse videos very easily.
Here’s how to reverse a video on Windows 11 with Wondershare Filmora:
1. Install Wondershare Filmora from Microsoft Store. Or, you can get it from the Wondershare Filmora official website.
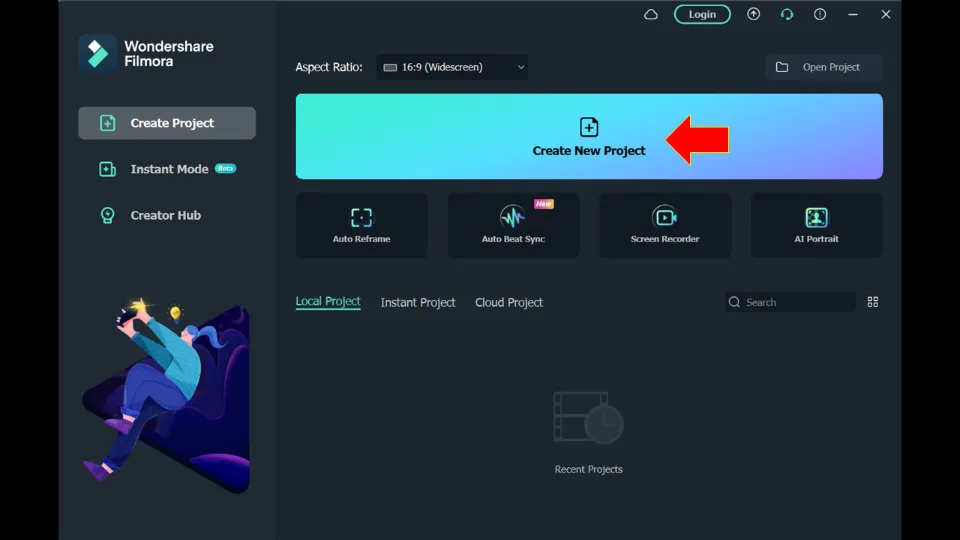
2. Launch Wondershare Filmora.
Note: If a pop-up window opens showing the new updated features of the app, click the Next option twice and then the Finish option to close the pop-up window.
3. Click + New Project.
4. Drag and drop the video you want to edit in the Import section.
You may also click Ctrl+ I and choose the video that needs to be reversed.
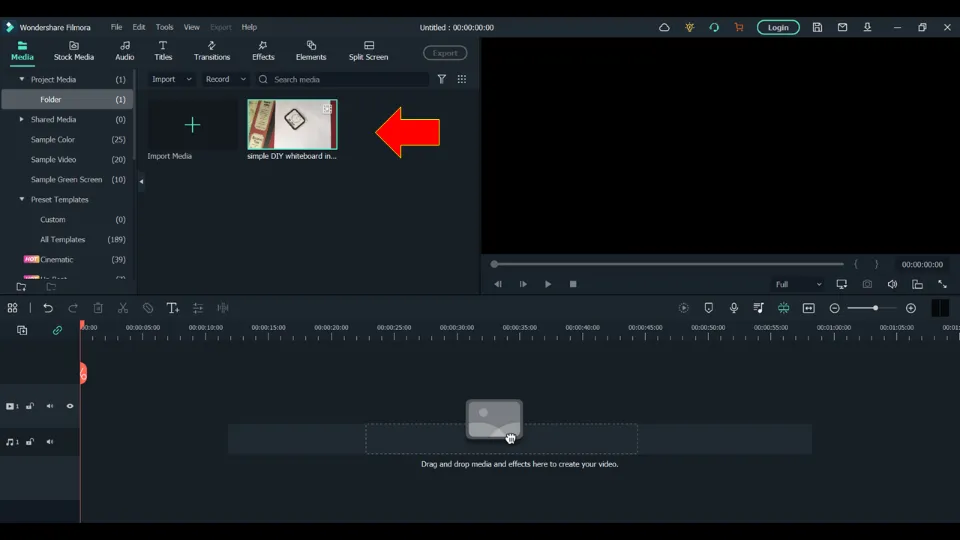
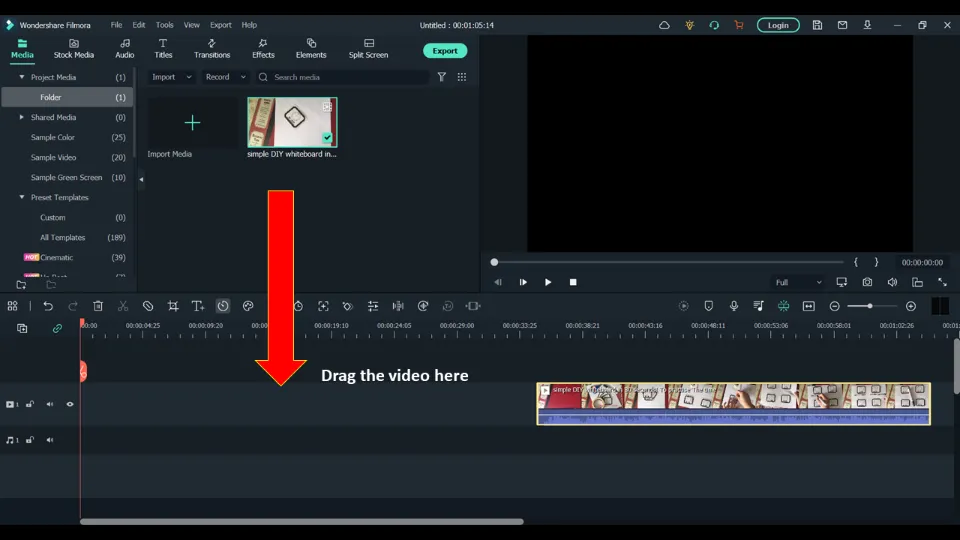
5. Drag the video to the bottom timeline.
Note: If the video resolution of the selected file is not the same as the Project settings, you will be given two options. You can either match the project settings with the selected file or keep Project Settings.
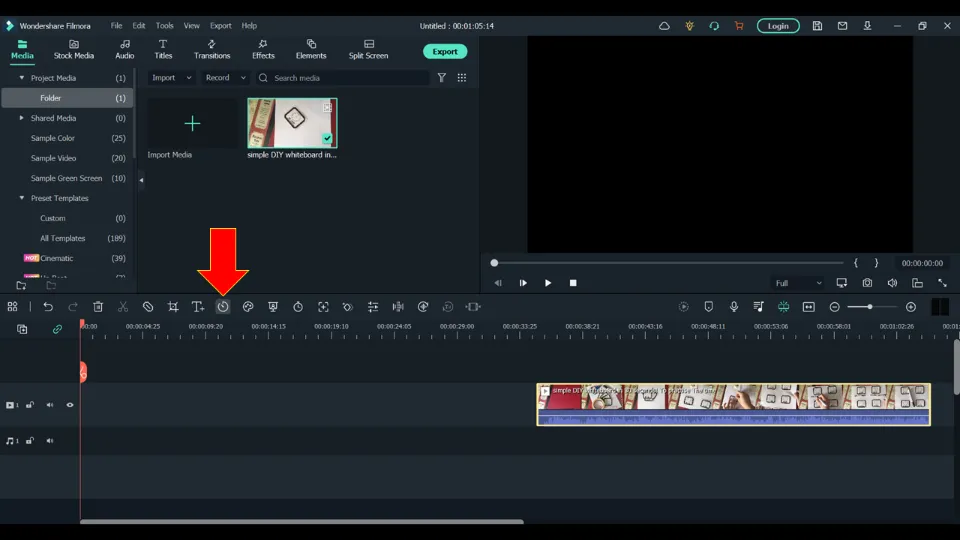
6. Hit the Speed icon.
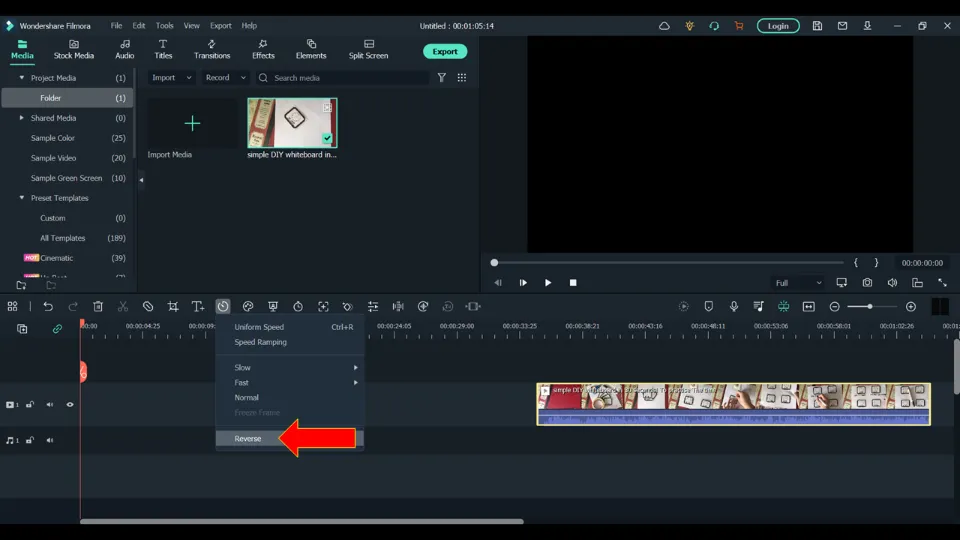
7. Choose the Reverse option.
8. If you are asked if you want to create a proxy file for smooth playback, choose Yes.
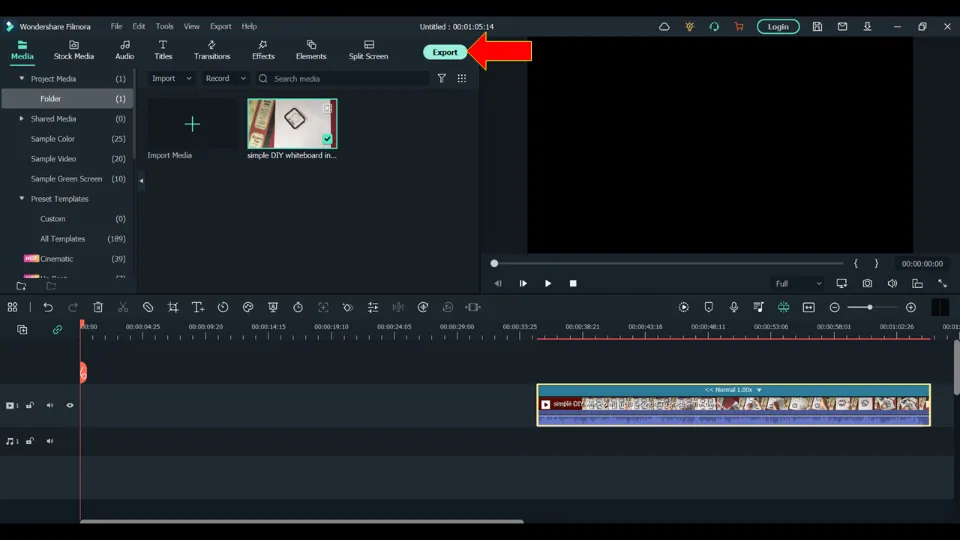
9. Select EXPORT.
10. Create an account or log in to your existing Wondershare Filmora account to proceed further.
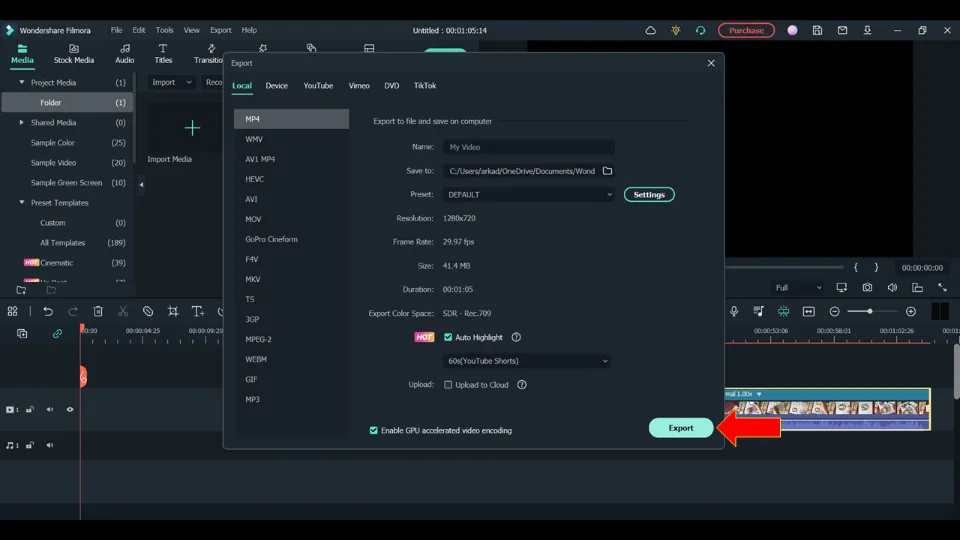
11. Choose video format, resolution, and other settings. Then, click Export.
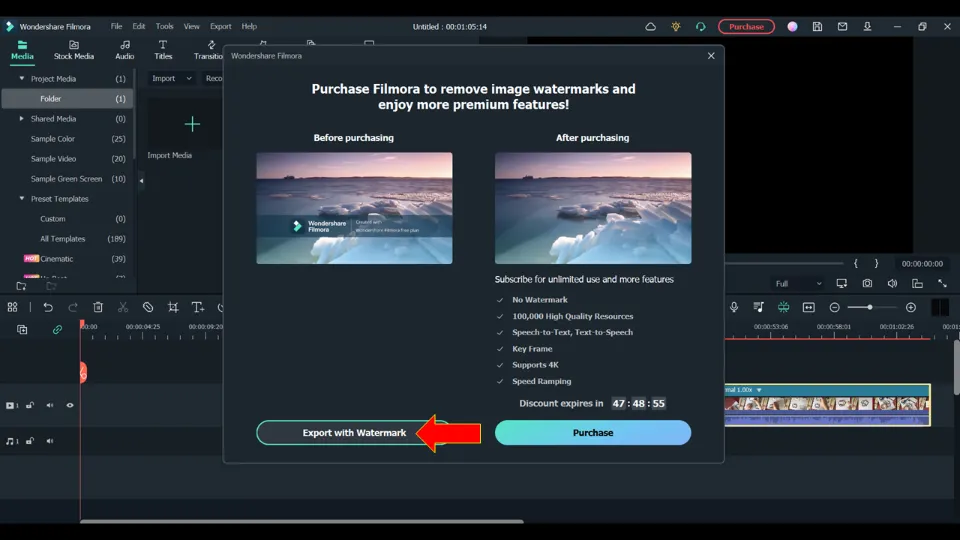
12. Choose whether you want the video with or without a watermark. However, for removing the watermark, you will need a premium subscription to the app. I am choosing the EXPORT WITH WATERMARK here instead of the Purchase option.
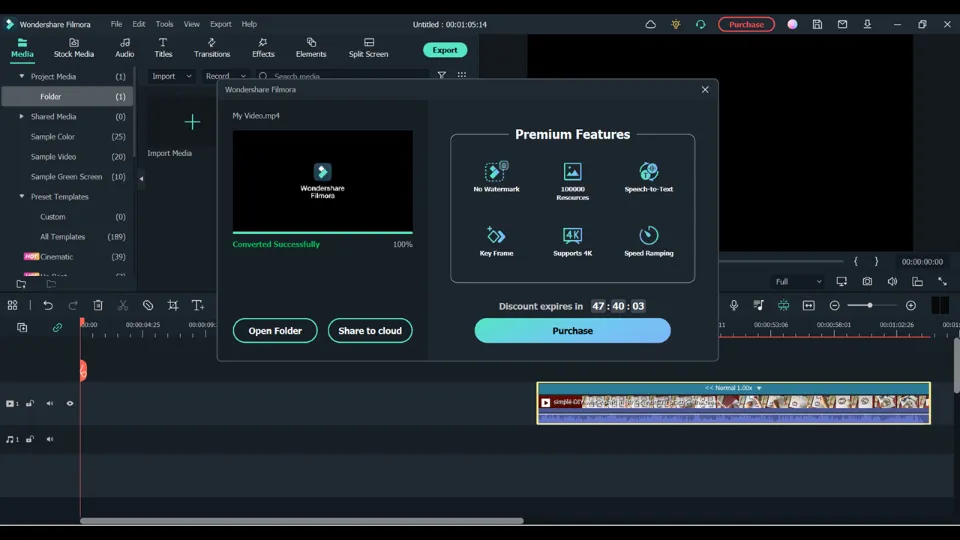
13. Finally, wait for a few minutes so that the video can be converted successfully.
Subscription Model:
As we have already discussed, Wondershare Filmora have both free version and premium version.
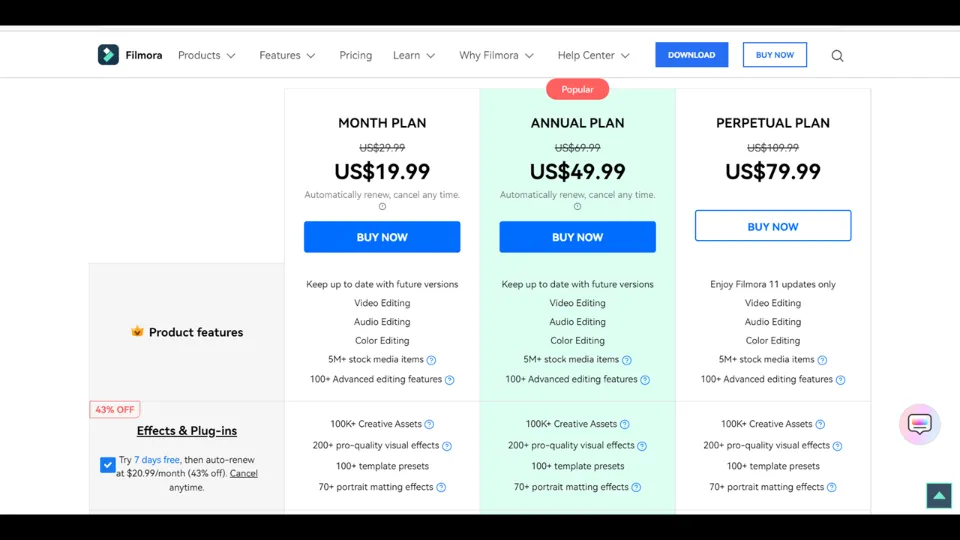
The premium version cost ranges from $19.99 to $109.99 depending upon the subscription plans (Monthly, Annual or Lifetime)
Premium Benefits:
✅30 minutes of speech-to-text.
✅1 GB Wondershare drive
✅Automated text to speech
✅4K video support
✅No watermark
✅Speed Ramping
How to Reverse a Video on PC with Reverse Video
Reverse Video is an application built especially for reversing videos. You can also change the video playback speed with this app. Here’s how to reverse a video on Windows 11 with Reverse Video:
1. Install Reverse Video from Microsoft Store.
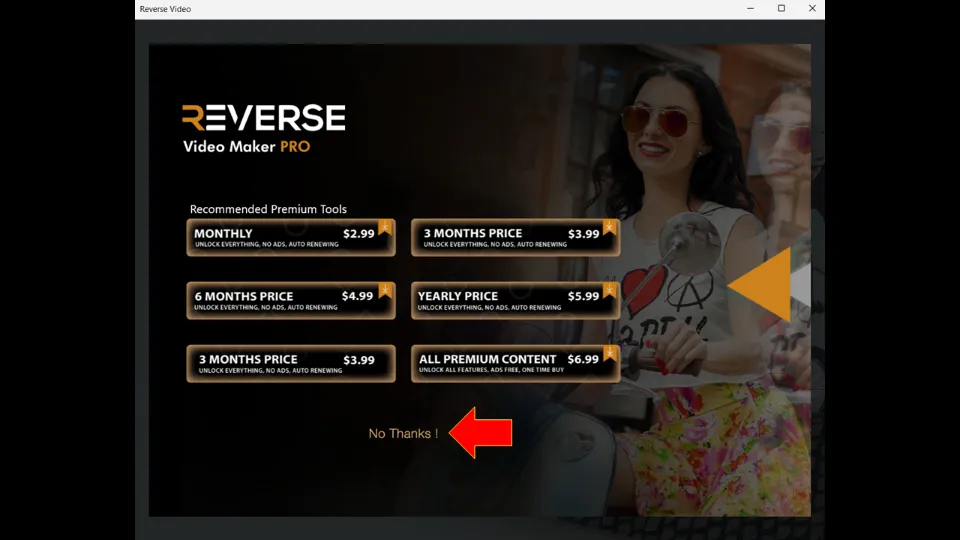
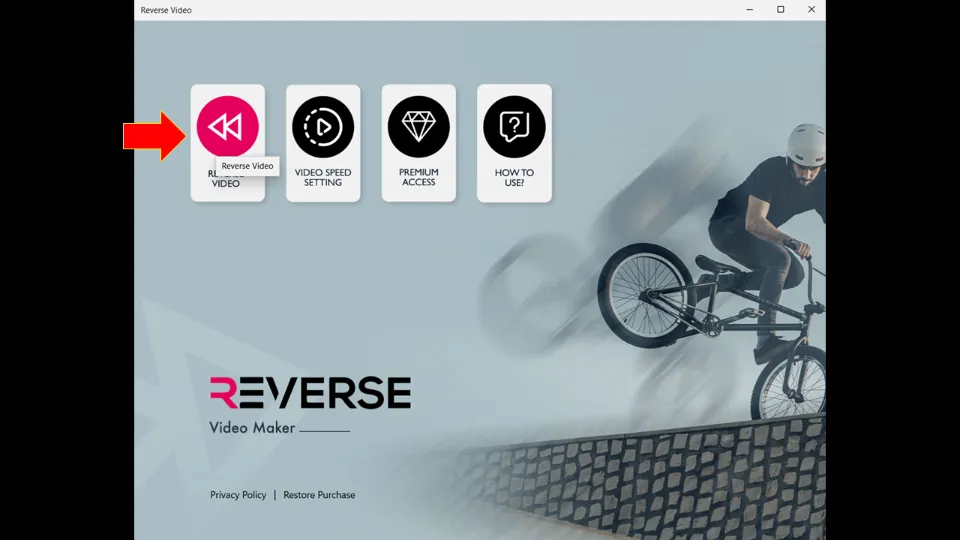
2. Launch the Reverse Video app.
3. A pop-up will prompt you to buy its premium plans. Since I am going to use the free version, I will click No Thanks! option.
4. Click the Reverse Video option. And, upload the video you want to reverse.
5. Select the video duration (Starting Time and Ending Time).
6. Then, click Save Video.

7. Choose whether you want to just reverse the video or reverse both the video and audio.
I am choosing the Reverse Only Video option. Then, click the Save Video option again.

8. Wait for the video to get reversed completely.
Note: With the free version, you can edit a video of a maximum of 9.5 minutes duration. You can however choose to trim a longer duration video in the Reverse video app itself and then reverse it.
Subscription Model:
The premium version subscription ranges from $2.99 to $6.99. It includes Monthly, Quarterly, Half yearly, Yearly, and Lifetime subscription plans.
Premium Benefits:
✅No ads
✅Increase video speed up to 2.5x and 3x
✅No video duration limit (i.e. you can reverse/edit videos of any length)
How to Reverse Videos on Windows 11 with Pixiko
Note: Login or sign up to Pixiko before you start editing video. The downloaded video will be sent to your email once the processing is complete.
You can even download edited videos from Pixiko without signing up. But the downloading process is relatively slow compared to the other sites.
Here’s how to reverse a video on Windows 11 with Pixiko:
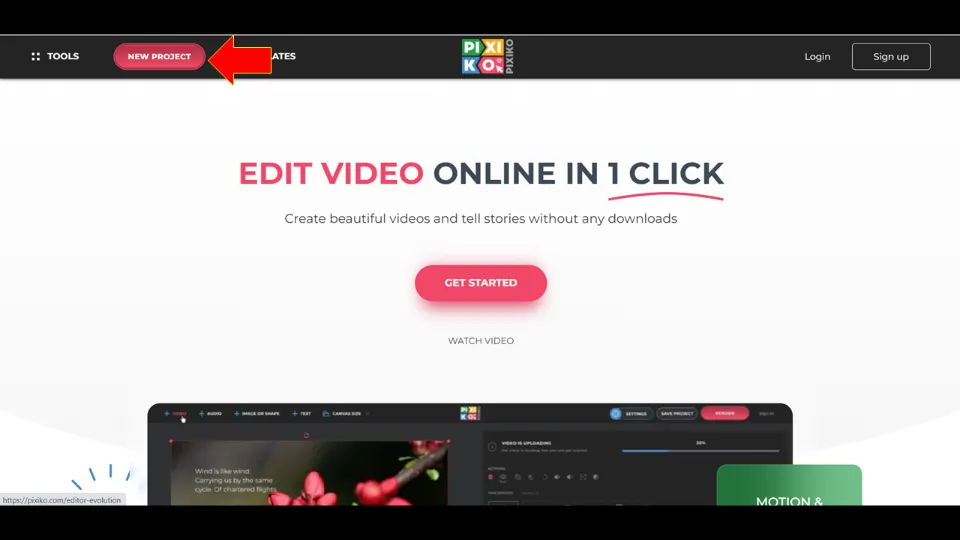
1. Visit Pixiko official website from any browser.
2. Select New Project from the top menu bar.
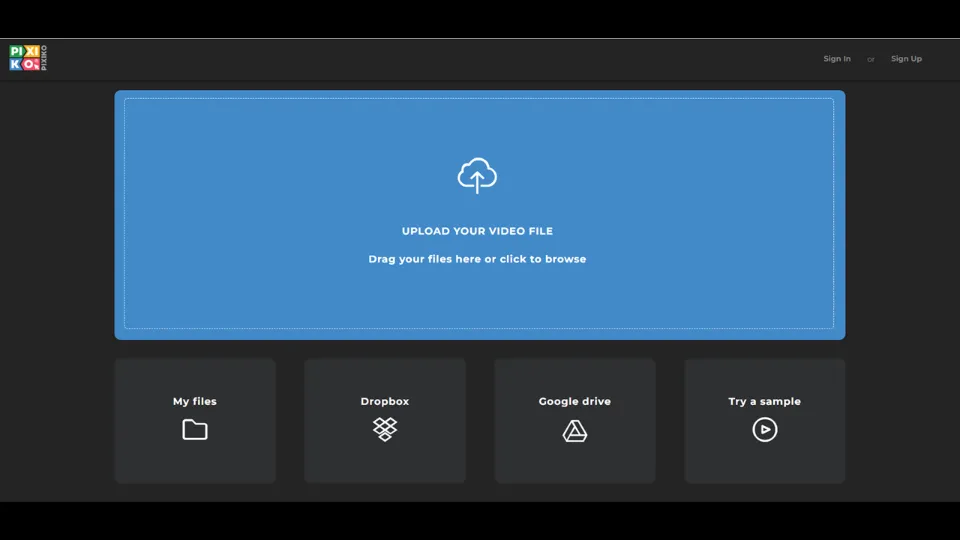
3. Upload the video you want to reverse. Either drag and drop the file to the mentioned location or manually choose it from your system, Google Drive or Dropbox.
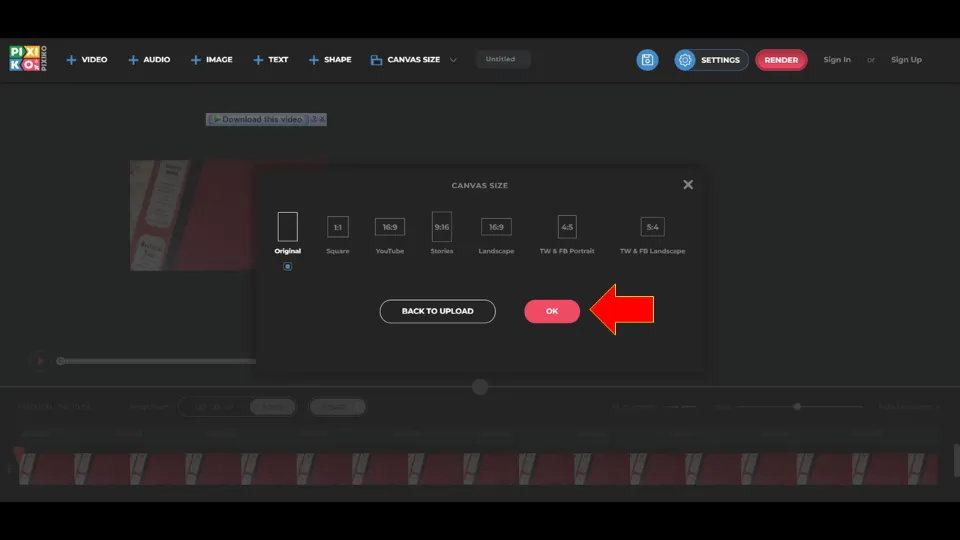
4. Then, choose the canvas size (screen dimensions) and click OK.
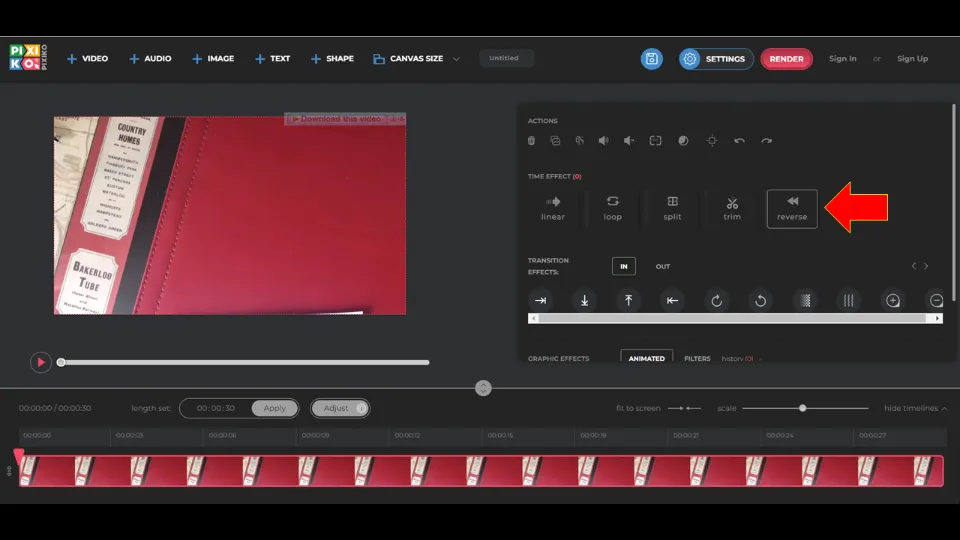
5.Click on the video once.
6. Then, select reverse option from the Time effect section.
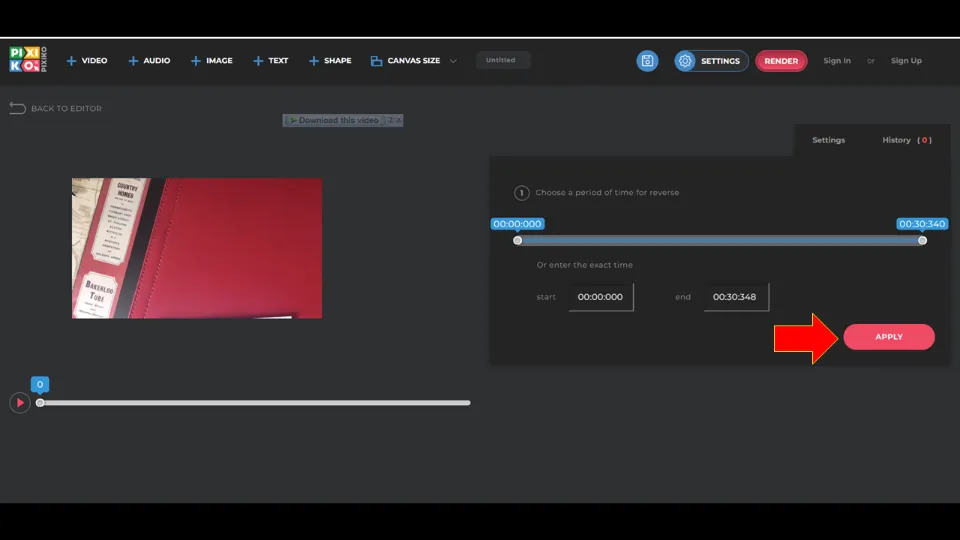
7. Choose the video duration up to which you want to reverse the video. Then, click APPLY.
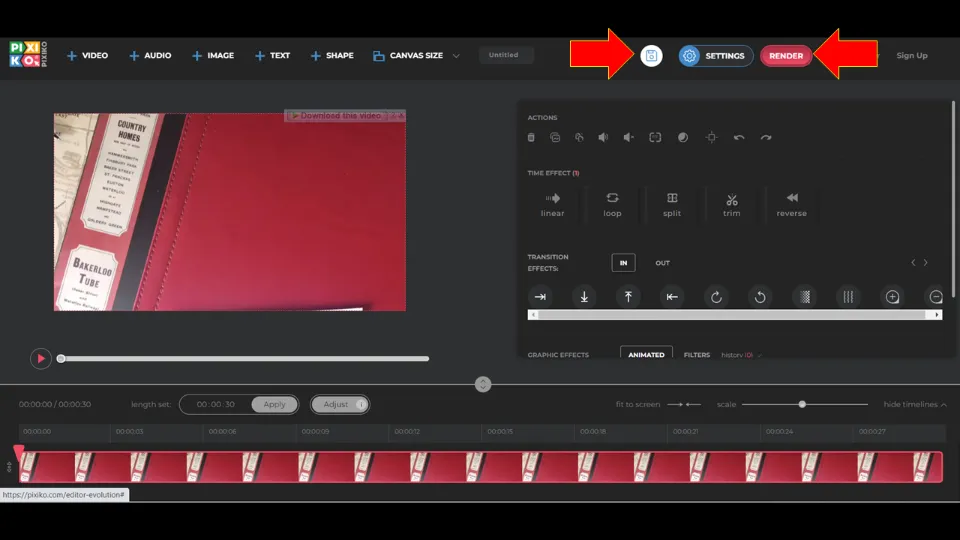
8. Click on Save icon and then Render option to save the video.
Subscription Model:
Pixiko also offers a monthly/ yearly subscription other than the free version. The subscription cost ranges from $14.87 to $178.44.
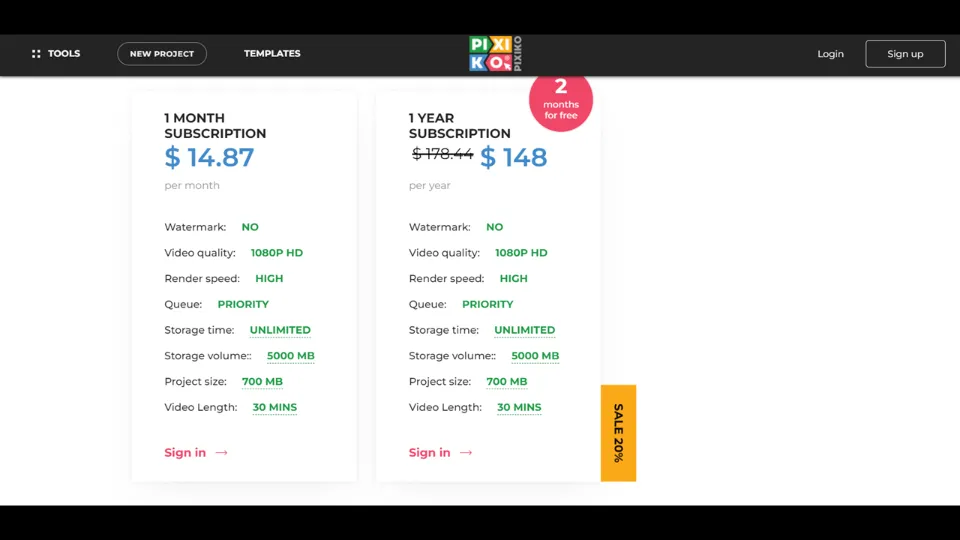
Premium Benefits:
✅High render speed
✅Edit videos of a maximum of 30 minutes duration.
✅1080p resolution support
✅No watermark
How to Reverse a Video in Windows 11 with EZGIF
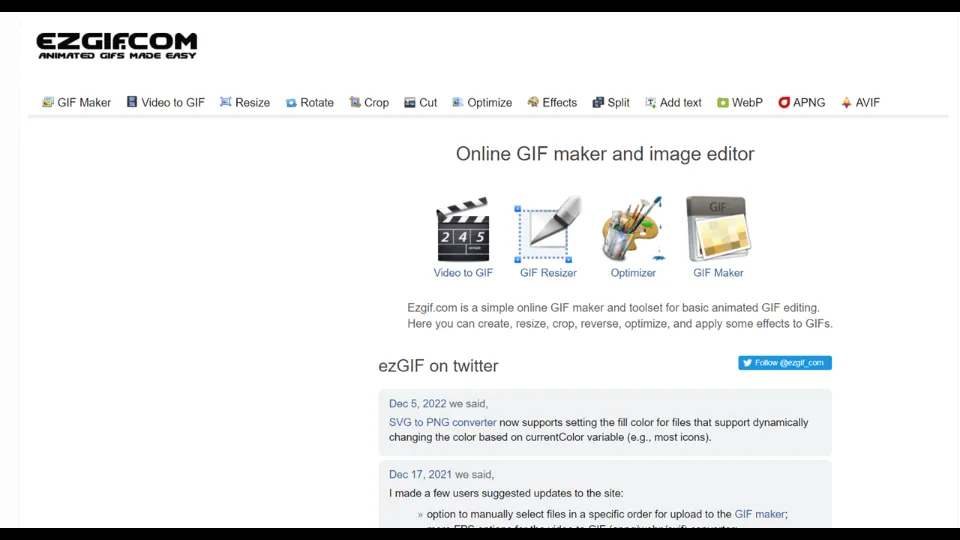
EZGIF is an amazing online tool for editing videos. Among all the important features it possesses, reverse video feature is one of them. Here’s how to reverse a video on Windows 11 with EZGIF:
1. Visit EZGIF official website from any browser.
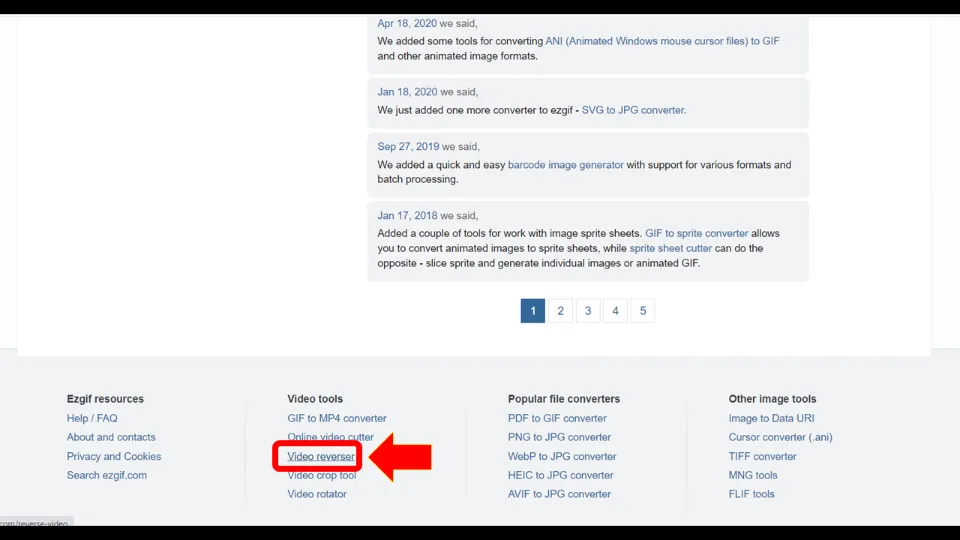
2. Hit the Video Reverser option by scrolling down.
3. Choose the video you have to reverse. Then, click Upload video!
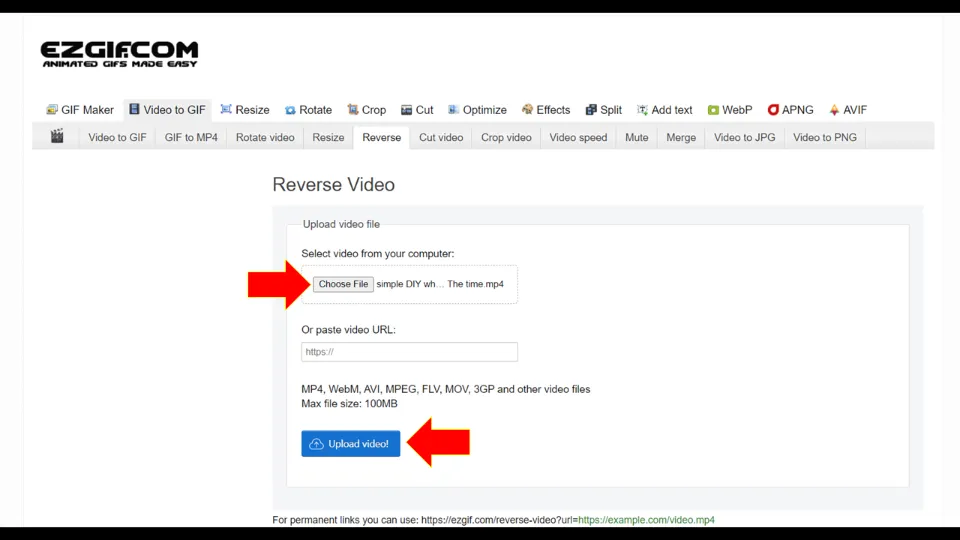
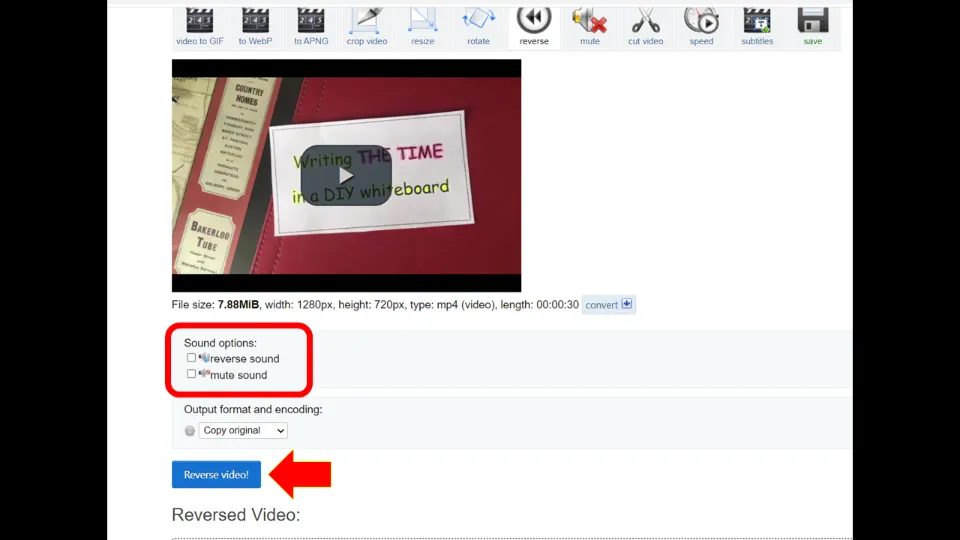
4. Reverse the audio or mute it according to your requirement. Then, click Reverse video!
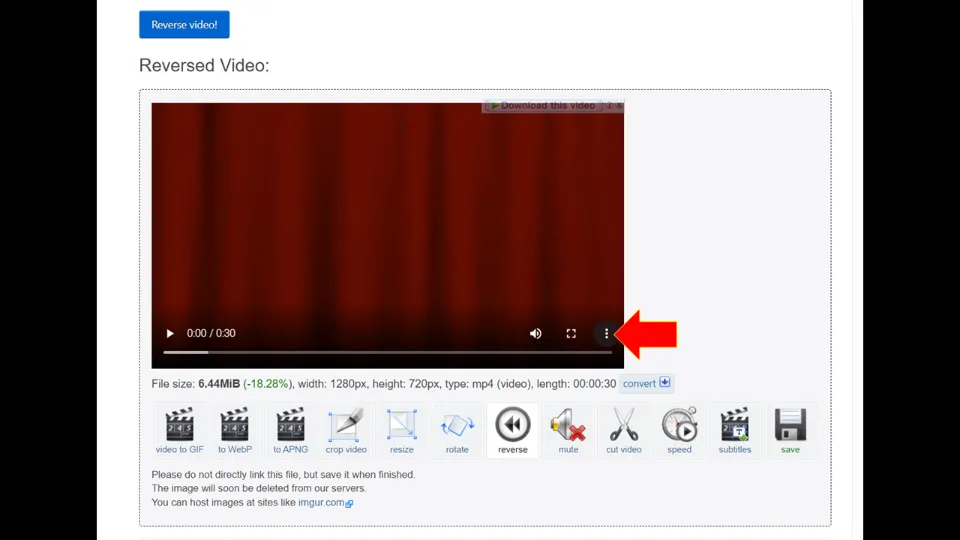
5. Let the video get reversed completely. Then, hit the 3 dot icon next to it.
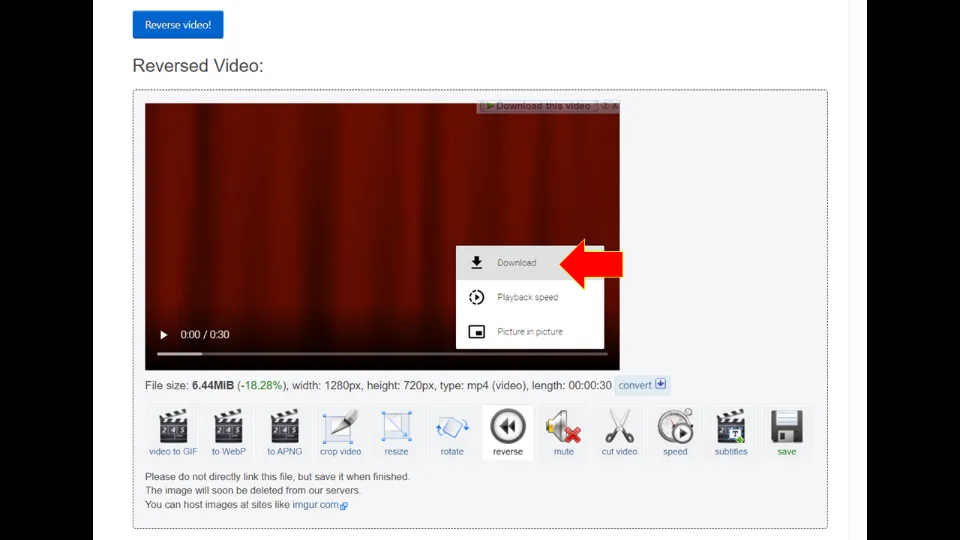
6. Finally, select Download.
Winding Up
When it comes to reversing a video, there are a handful of apps that can do the task for you. EaseUS Video Editor, Wondershare Filmora, Reverse Video, etc. are some of the options.
Even if you don’t want to install any additional apps on your Windows, you can reverse videos using online Video video editing tools like EZGIF, Pixiko, etc.
Install any of the applications like EaseUS Video Editor that can reverse videos. Here are the quick steps to reverse videos using EaseUS Video Editor app
- Launch the app.
- Hit +New Project.
- Upload the video
- Drag the video to the bottom timeline.
- Select the Edit option and then, click the Reverse option.
- Finally, wait for the video to be reversed.
More Resources:
How to Reverse Videos on Android
How to Play YouTube Videos Backward
How to Rotate Videos on Windows